BBQ recipes, product reviews, & how-to's

Tag: pork

Bacon-weaved Breakfast Fatty

Bacon-weaved Breakfast Fatty

Who doesn’t love a good breakfast? If you’re cooking up breakfast at home and want some sort of pork product to go with your pancakes and eggs, most folks make a choice between sausage or bacon. But why not both? You can have a complete…

Easy Pulled Pork Recipe

Easy Pulled Pork Recipe

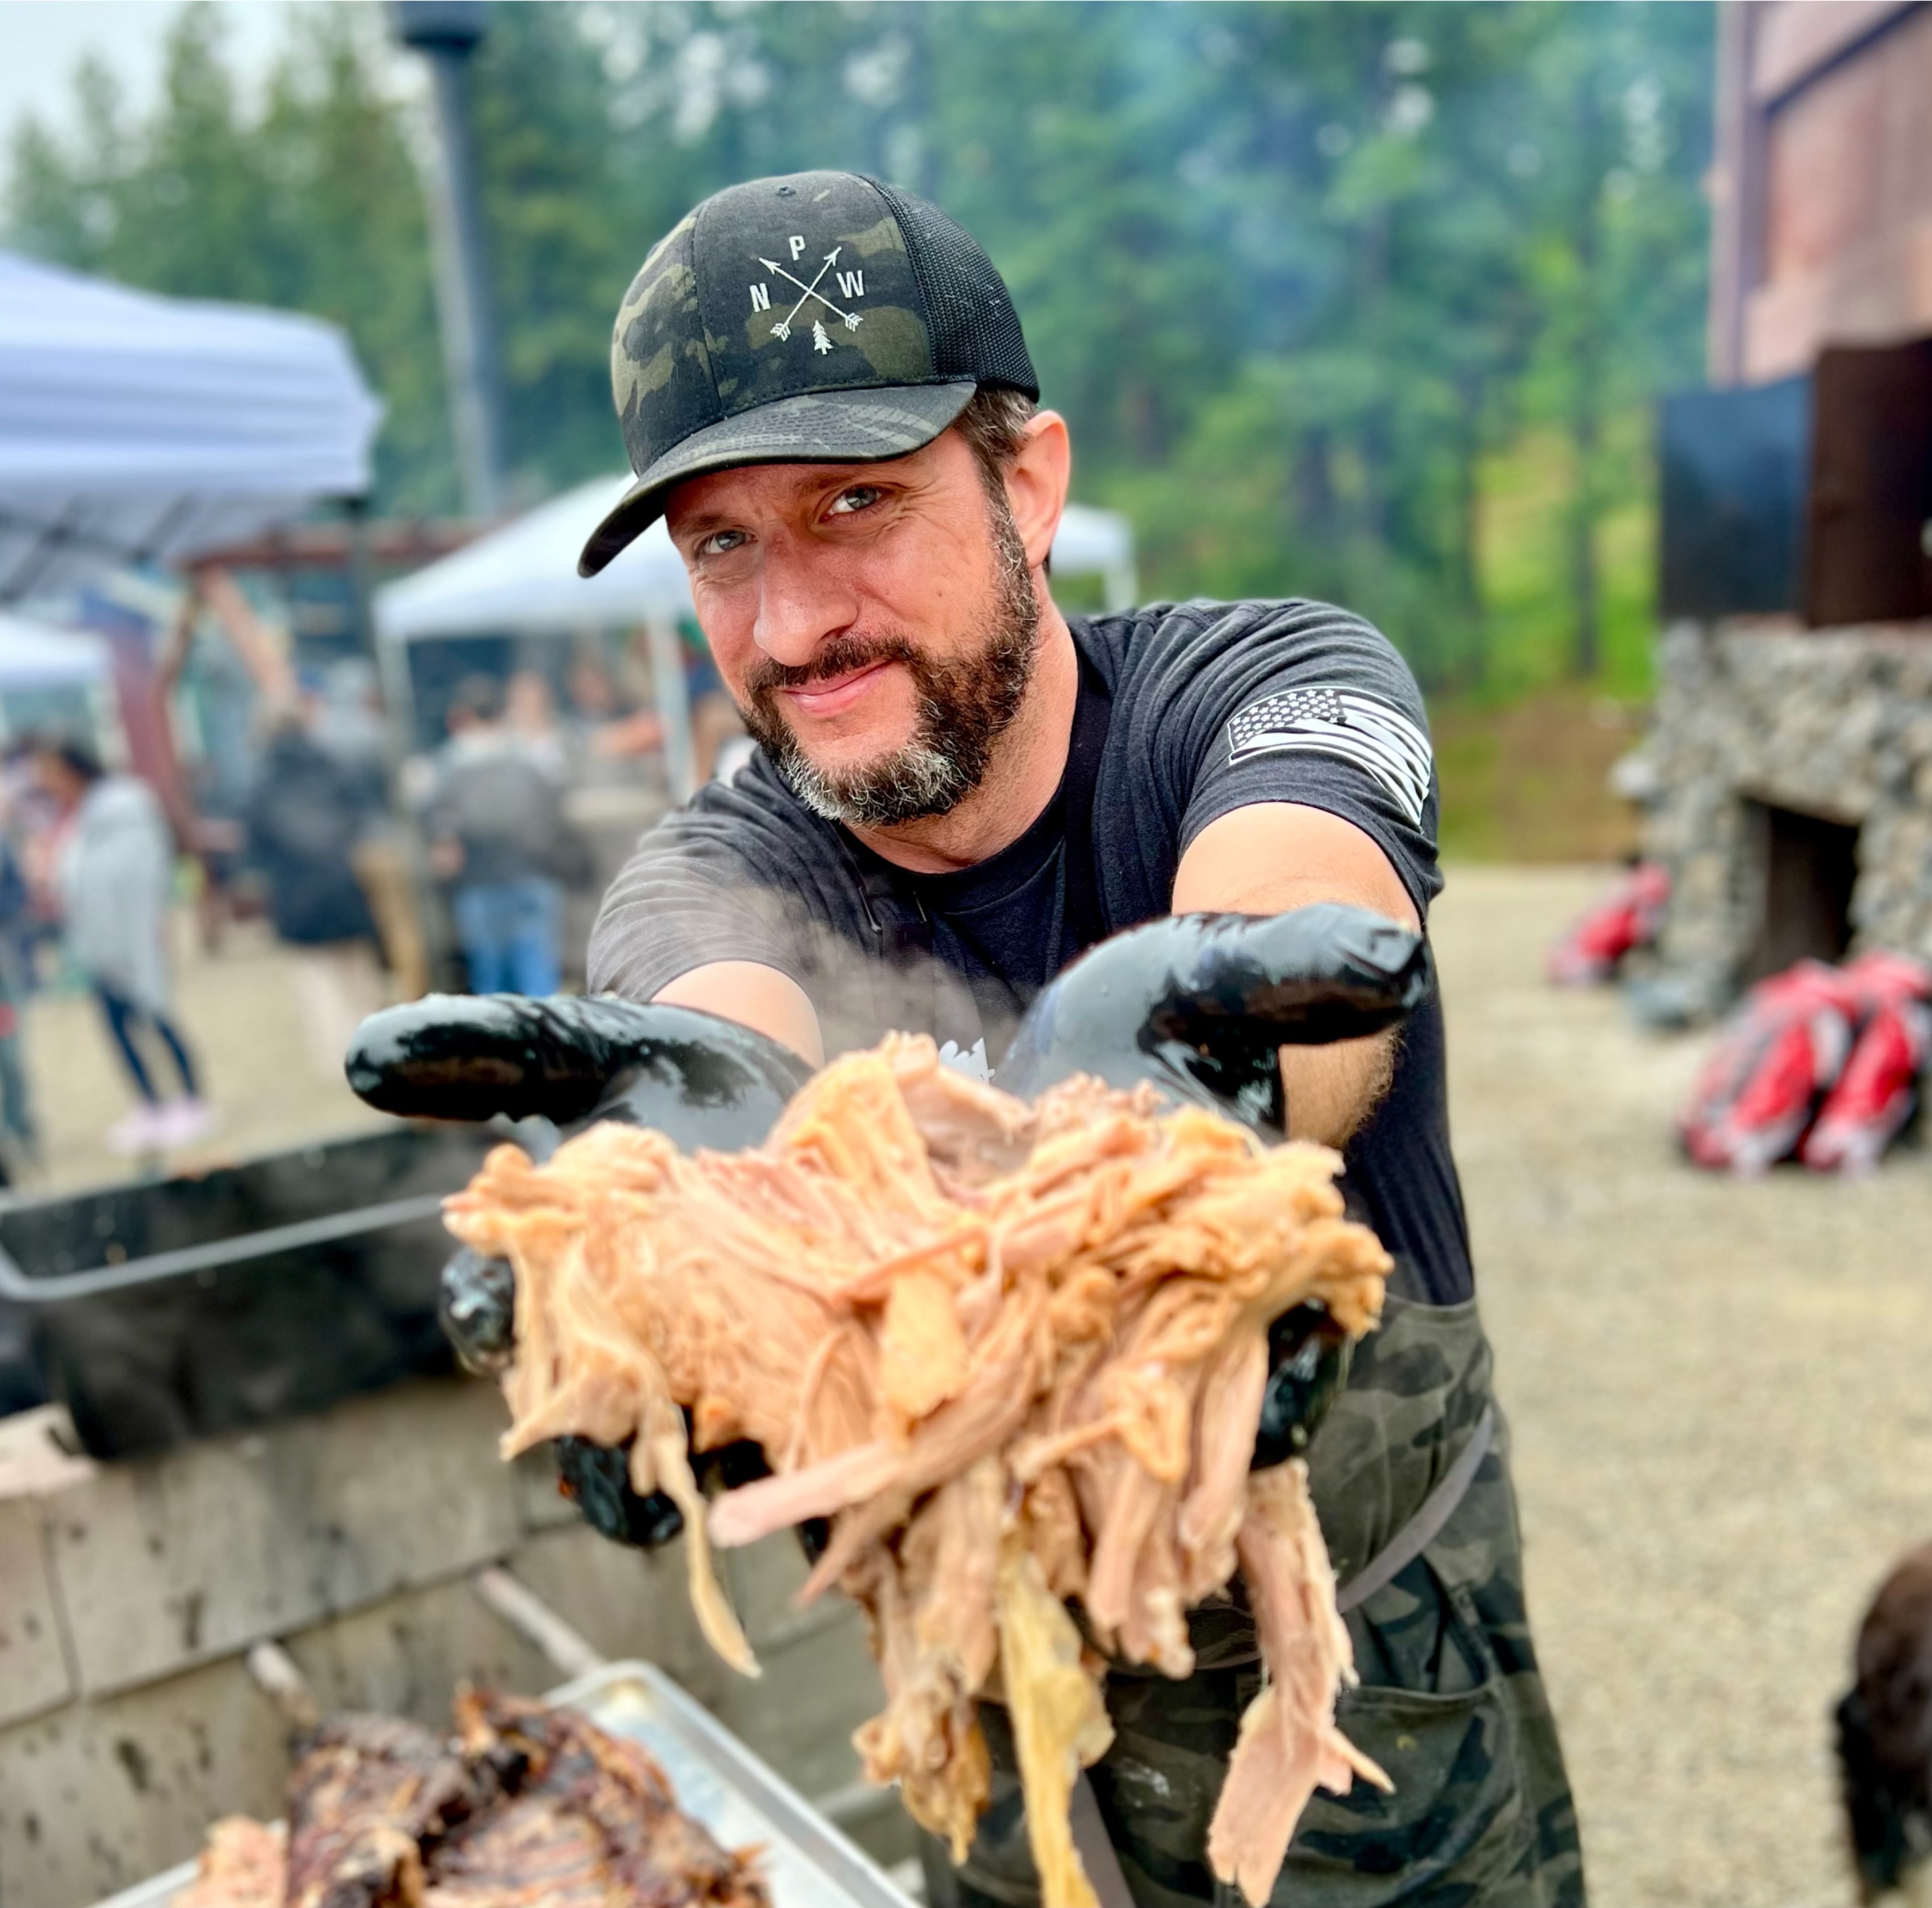
If you’re new to learning how to barbecue (that rhymed), I highly recommend making smoked pulled pork. Using a pork butt (or Boston butt), this cut of meat comes from the shoulder of the pig. While it is a popular meat at barbecue joints, don’t…

Joetisserie Review

Joetisserie Review

I’ve been cooking in a ceramic grill religiously for years, mostly going low and slow for barbecue. I’ve been using the Kamado Joe Classic models and Joe Jr. I love how these things hold the heat for hours and hours (especially in the wintertime) and how they capture the moisture in at the same time. I’ve used the regular grill grates, cast iron grates, and the half moon griddle. While I recommend using all of these, my favorite accessory to use is the Joetisserie. And in this Joetisserie review, I will be giving my unbiased opinions of this porduct.

What’s in the box?

The Joetisserie works like a regular rotisserie and is fitted for the 18” Classic. The packaging includes a steel spit rod (or skewer), two adjustable forks (or claws) to keep the food firmly in place for spinning, a large, wedge-shaped ring to keep the skewer in place, and the motor for spinning the steel spit rod. The motor comes with a plug because it requires electricity, so you’ll want to make sure your grill is close to a power source. Also worth noting is that the motor is strong enough to spin up to 40 lbs. of food.

Assembly

To help attach the food to the skewer, one side has a dull point on the end to help move the food down the stick (but not too sharp as to impale…unless you are running full force with it at someone/something). Make sure to first put one claw on the skewer facing the food, then the food itself, and finally the other claw to keep things in place whilst spinning.

Here’s a video of the unboxing (a re-enactment if you will) and assembly of the Joetisserie:

How to Use the Joetisserie

You can cook a variety of meats, veggies, and fruits rotisserie style. Two of my personal favorites are chicken and pineapple. I’ve also attempted al pastor and have had some success with it. The advantage to cooking food this way is that as it’s internal temp starts to rise, the juices don’t usually drip off. They keep rolling around as the food spins, meaning the food is basting in its own juices. In fact, the best, most juiciest whole chickens I’ve made have been rotisserie style using my Joetisserie.

One tip I’ve learned after charring the skin on a few of my birds is when lighting the coals, try to keep your hottest ones to the outer portions as opposed to directly under the meat. That way, you can get a more even cook for both the outside and inside of your food. Another option for those with more patience is to let the coals burn past their peak and then use those cooler coals to cook with.

While the Joetisserie is great to use, one super minor issue of how to store it comes after you are finished using it. You could always try to put it back in the original box it came in, but the custom cut styrofoam will eventually come apart. No custom bags or storage bins are available, so you’ll either have to find the right size of box to put it in or be like me and put some parts one place and the rest on top of your fridge in the garage.

With that said, here’s my pros and cons for this Joetisserie review:

Pros

* Simple to assemble
* Food becomes self-basting
* Fits most round, 18” ceramic grills (including large Big Green Egg)
* Easy to use

Cons

* Limited availability to purchase
* No storage kit available

Joetisserie Review

I could watch the rotisserie spin around all day. It’s a bit hypnotic in a way. If you check my social media posts, you will occasionally see me sharing videos of spinning chickens and other foods. I can’t help it. I could watch those videos on repeat! Even though there are no storage bags available (at the moment), I highly recommend the Joetisserie to add yet another style of cooking to your kamado!

Smoked St. Louis Ribs: A Complete Guide

Smoked St. Louis Ribs: A Complete Guide

Being a native St. Louisan, it’s a given that I love smoked St. Louis ribs. I like the length of the ribs and how meaty they are. While baby back ribs are awesome, it’s simply my preference to go for St. Louis style. In this post,…

Smoked Bacon Candy

Smoked Bacon Candy

Did that heading capture your attention? Good. This post is about smoked bacon candy. That’s right: bacon candy. These words can bring the world together. This is smoked bacon recipe is so simple, even a child can do it! One recipe, four ingredients All you…

BBQ Maple Pork Belly Burnt Ends

BBQ Maple Pork Belly Burnt Ends

Pork belly burnt ends are top notch!

Recently I was invited to a food bloggers dinner in which fancy food bloggers (and me) get together for a pot luck. I wanted to bring something unique to my craft, but also do something that I don’t usually make. I’ve done pork belly burnt ends a couple times before and figured this might be a great idea… or it could backfire with a bunch a foodies and I’d be shunned forever. No pressure.

I don’t see pork belly too often around where I live, but when I do it comes in a giant, 10 lb. slab. It looks like a pork pillow I can rest my head on! A pillow I’d love to chop up, smoke, sauce, and eat. With that said, I open the package, rinse off the pork belly, and pat dry with paper towels. NOTE: if you haven’t already, now is a good time to get your smoker going.

A big ‘ol slab of pork belly.

Next I trim off some fat from the top. Sometimes the butcher sells it with a thick amount of fat on top. Some folks, when making pork belly burnt ends, don’t trim it at all, some do because they want more of a firm bite…and less fat. I didn’t trim much fat of these, but think I will trim the fat down to 1/4 inch next time. There may be a little silver skin on the non fat side, as well as some sections of stringy fat. Feel free to trim off using your boning knife (or whichever type of knife you like to use to trim).

Once that is done, I like to get some spicy brown mustard and rub all sides and then cut the slab of pork belly into 1 1/2 inch cubes. After that, I sprinkle on my rub of choice. For these, I used Whomp! Rub by Meat Mitch. Get a little generous with the application of it. Pat rub into meat.  The smoker should be close to desired smoking temp of 225F so go put those bad boys on.

Spicy brown mustard about to be applied. Notice that I trimmed off a few pounds of this 10 lb. slab.

To make your life easier, you will want to place these pork cubes on a cooling rack for a quicker, easier transfer on and off the grill. I didn’t use one and had to keep my grill open for a while as I was placing them on there one by one. It took a while and the heat from the bottom of my Kamado Joe started to flare up because of the extra time it spent being exposed to more oxygen. I recommend the mesh grates for the cooking rack so it holds the cubes better. For my grill, I put a couple of chunks of cherry wood in, although other fruit woods like apple or peach would be good, too (or you could try pecan). Let it smoke for three hours and you should notice a nice bark developing on them.

Cubes or pork belly going through the process.

Once that is done, pull off the rack and put these cubes into an 8×8” or 9×13” pan (depending on how many you are making) and mix with a half stick of butter (4 Tablespoons), about another Tablespoon of Rub, three Tablespoons of maple syrup, and 3/4 Cup of BBQ sauce.

The ingredients I put in to sauce it up (notice I went a little overboard on the butter!)

I like to use a BBQ sauce that has some sweet and heat to it, such as Spicy Patriot Sauce from Code3Spices or Whomp! Sauce by Meat Mitch (I went with Whomp! Sauce for this particular cook). Stir it around, wrap foil on top, and put back on the grill for another 60-90 minutes (at the same 225F temp).

Extra ingredients in, stirring it up and going back on the grill.

After 60-90 minutes, take the wrapping off the top of the pan and let it cook for another 20 minutes. You do this to help the sauce stick better to the meat. Otherwise, you will be needing to dip these pork belly burnt ends (yes, they’ve now graduated from “cubes” to “pork belly burnt ends”) into the sauce. Wouldn’t you rather have them stick to the burnt ends instead?

Some like to serve these on toothpicks as to not get their hands messy. Others use forks. But if you’re like me, just dig right in with your fingers (but make sure you have some napkins by your side)!

Ready to dive in!

As for the food bloggers & influencers event, the pan quickly vanished!

I hope yours turn out great! Enjoy the journey!


PORK BELLY BURNT ENDS

INGREDIENTS

  • 5-7 lbs. pork belly
  • 1/8 Cup spicy brown mustard
  • Rub (about 5-6 Tablespoons)
  • 4 Tablespoons butter
  • 3 Tablespoons maple syrup
  • 3/4 Cup BBQ sauce

GRILL

  • 225F temp
  • Fruit wood of your choice (I used cherry)

DIRECTIONS

  1. Trim fat on pork belly slab down to 1/4 inch
  2. Apply and spread spicy brown mustard over all sides
  3. Slice into 1 1/2 inch cubes
  4. Sprinkle rub and apply to all sides
  5. Place in smoker for three hours (may need 3.5 hours depending on desires bark on cubes)
  6. Remove from grill, place cubes into 8×8 or 9×13 pan (depending on amount)
  7. Cut butter into a few pieces and put in foil pan. Also pour in maple syrup, BBQ sauce, and some more rub.
  8. Wrap top of foil pan with a sheet of foil, place back on grill for 60-90 minutes (still at 225F)
  9. Unwrap, stir, and let sit in smoker for another 20 minutes.
  10. Remove, let sit for 10 minutes, then dig right in!


BBQ Leftover Ideas: Pulled Pork Mac n’ Cheese

BBQ Leftover Ideas: Pulled Pork Mac n’ Cheese

BBQ is a beautiful thing. The hours of work put in to trimming, rubbing, injecting (for some), smoking resting, and slicing (or shredding) pays off when you take that first bite…and second, and third, and so on. You want to get your fill and share…

Pork Steaks

Pork Steaks

Growing up in St. Louis, I was exposed to some unique foods to the region: gooey butter cake, toasted ravioli, and pork steaks. It wasn’t until I moved out West that I realized these things were not commonplace everywhere else. Being the BBQ nut that I…

Smoked Kalua Pork

Smoked Kalua Pork

I have been BBQ’ing for a full year now and during these 12 months, I have smoked dozens of pork shoulders. I was doing them the same way for a while in order to get myself more confident with the process. In fact, you can find the recipe I used repeatedly here. Now that my comfort level is to the point that I no longer need to refer to a recipe, I’ve decided to experiment a little more with the Boston butts. The warmer time of year gets me thinking about tropical vacations and the fun meals that come along with them. One of my many sisters-in-law (I married into a family of eight siblings) has been wanting to get family together and have a backyard luau with kalua pork. I summoned the powers of cyberspace and looked up recipes I could use in the smoker and came across one from Harry Soo at www.slapyodaddybbq.com. I used the kalua pork recipe from his site and added some personal touches of my own.

For your reference, the term “kalua” means “cook in an underground oven.” Not to be confused with Kahlua, the sweet, coffee-flavored alcoholic beverage from Mexico. I’m sure you could incorporate Kahlua into your kalua, but I chose Worcestershire Sauce instead because I don’t like to party.


SMOKED KALUA PORK

Ingredients:

1 pork shoulder (Boston butt), about 7 lbs.

2 teaspoons Hawaiian red sea salt

2 Tablespoons chicken bullion

1/4 Cup of your favorite BBQ rub

1-2 banana leaf/leaves

Mopping Sauce:

1 13 oz. can crushed pineapple

1/4 Cup (or half stick) butter, melted

1/4 Cup brown sugar

3 Tablespoons apple juice

1 Tablespoon Teriyaki sauce

Wood: hickory, peach

Smoker temp: 275°F

Meat temp: 195-203°F

Time: nine hours (five unwrapped, four wrapped)


To begin, I started the night before to let the ingredients flavor up the shoulders a bit (note: don’t forget to rinse and pat dry the pork shoulders prior to seasoning). You can do this at least an hour before smoking, but I didn’t want to wake up earlier than I needed to I chose to do it this way. First, I like to apply the Worcestershire sauce to help the other ingredients stick. The Hawaiian red sea salt, chicken buillon, and your favorite rub can be mixed together and applied, but I put them on one at a time. Regarding these ingredients, Hawaiian red sea salt can be tough to find locally. That is, unless you live in the Aloha State. I was able to find this at an Asian market, as well as the banana leaf to be used later. If you have no luck finding it near you, there’s always Amazon. If you’re like me and don’t purchase chicken bullion much, if at all, then here’s a tip for you I learned from this experience: bullion doesn’t always come in cubes. You can buy it already in the powder form. If you buy it in cubes, then you have to beat it down into powder, which I did by placing in a plastic bag and pounding with a rolling pin. For the rub, I tried the Bacon BBQ rub from Meat Church. It was my first time using it and I loved the flavor when I sampled it at my local BBQ shop.

The pre-seasoning ingredients.

After seasoning, I placed both pork shoulders into a large bowl and let rest overnight (FYI- the recipe I am posting is for one pork shoulder).

These two pork shoulders were seasoned and left in the fridge overnight.

I got my smoker going the next morning and got the temperature of 275°F. Some do it at a lower temp and have it cook longer, but I like the 275°F temp and keep it in there for about 5 hours for this first step. Usually with Kalua pork recipes, they call for mesquite wood to smoke with. Since I had no mesquite wood on me, I used hickory and then I also wanted to put some Peach wood in there for a little bit of a sweeter flavor. I let that go for five hours, spritzing with a mixture of apple juice and apple cider vinegar once an hour.

Measuring temp on the pork shoulder with the Chef Alarm from Thermoworks.

After five hours and the internal temperature at about 150°F, I removed from the smoker. Leading up to this, I lay down two layers of heavy duty foil first, then a banana leaf. The banana leaf is usually a difficult one to find, but I found mine locally at an Asian market, just like the Hawaiian red sea salt. Rinse the banana leaf put it down on the foil, and then get the pork shoulder and place it on the banana leaf for wrapping, but don’t wrap yet.

Pulled from the smoker after five hours and placed directly on the banana leaves.

Now you want to get your mopping sauce (hopefully you thought ahead unlike me and have already put it together) and spread it all over the pork shoulder. If you forgot what the ingredients were, then check the picture below:

Ingredients for the mopping sauce.

I didn’t use all of the sauce, but plenty enough. The melted butter, brown sugar, and crushed pineapple together made me want to eat this mixture by the spoonful, but I exercised restraint and added the other two ingredients for mixing. I improvised with the teriyaki sauce. It just seemed fitting that a Hawaiian dish but have some sort of Teriyaki flavoring to it.

The mopping sauce.
The mopping sauce.

I apply the sauce and the pork shoulder looks like a mess. That’s okay, because it’s supposed to happen. Now wrap up in the banana leaf. The pack I bought had some pretty long leaves and I used one to wrap it up. It didn’t cover the pork shoulder completely, but the foil will help keep things in place.

The pork gets sauced.

I’m still unsure how relevant the banana leaf is to the flavor. I do know it is tradition to have it in the recipe for wrapping purposes because the leaf can hold the heat and juices in. When I find out for sure, I’ll update this post with that info.

Wrap upon wrap.
Wrap upon wrap.

Now that the banana leaf has wrapped around the pork shoulder, I wrap the foil around it and then throw it in the oven at 275°F for four hours *GASP!* Yep, in the oven because 1) I don’t wanna mess with regulating the heat in my smoker for four hours and 2) the meat had already absorbed five hours of smoke and won’t be able to take in much more than that.

There's something tasty cooking under that leaf.
There’s something tasty cooking under that leaf.

After four hours wrapped in the oven, the shoulder reaches 195°F, which is where pulling the pork gets to the point of easy shredding.  I unwrap and let it sit for about 20 minutes so the juices build up.

Between 195-203°F, the internal temp of the pork becomes easier too shred, thus meaning less time it takes to do that and the sooner you can your guests can dig in!

Ah, a savory sea of swine.

Enjoy!

Honey Glazed Teriyaki St. Louis Style Ribs

Honey Glazed Teriyaki St. Louis Style Ribs

When it comes to ribs, most of the time I prefer St. Louis style ribs. I do this for two reasons: 1) I love the flavor of meat and fat that this part of the rib provides and 2) I’m originally from St. Louis, so…