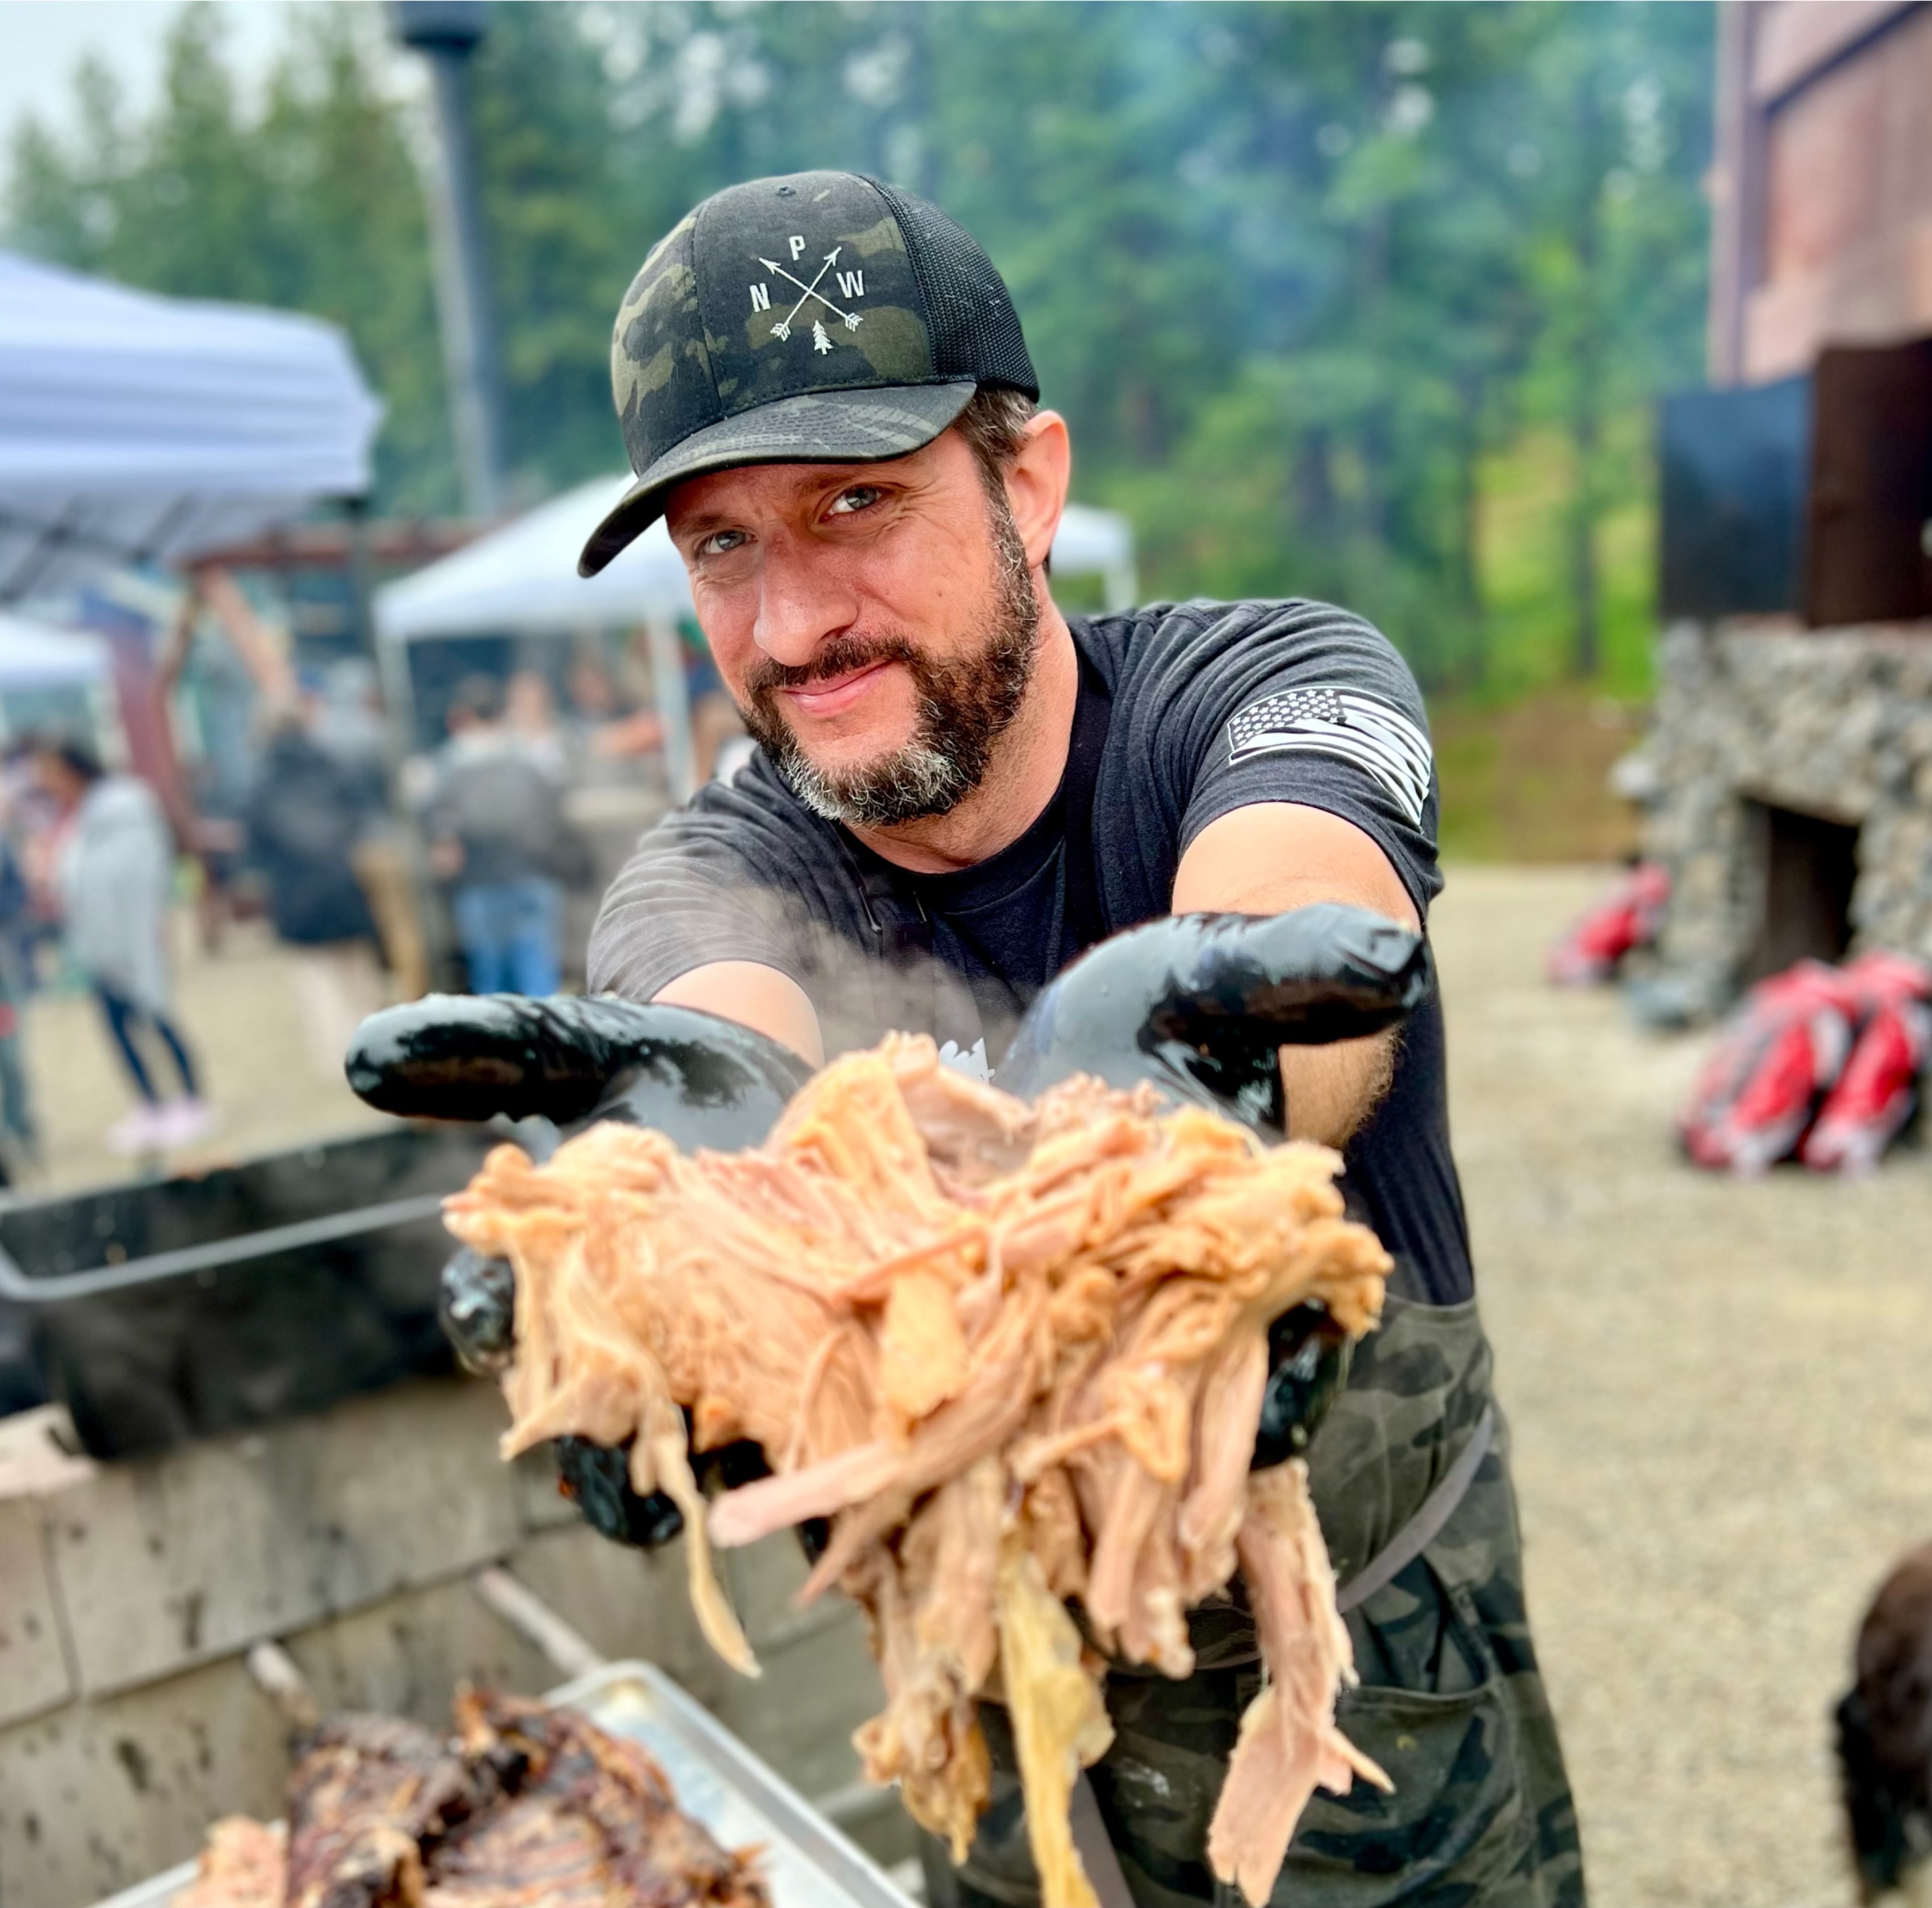
Going Viral on Instagram: is it a Good Thing?
I’ve had my @learningtosmoke account on Instagram for over two years now and have seen my share of highs and lows. I’ve had posts that have done really well and others that get overlooked, I’ve been trolled and praised, I’ve been fortunate to collaborate with…